Installing DVD1
This section describes how to install DVD1 including the Rocky Linux Operating system.
Before commencing the installation, you must configure RAID-0 (see Configuring RAID-0 for OVOC on HP ProLiant DL360p Gen10 Servers)
| ➢ | To install DVD1 without a DVD: |
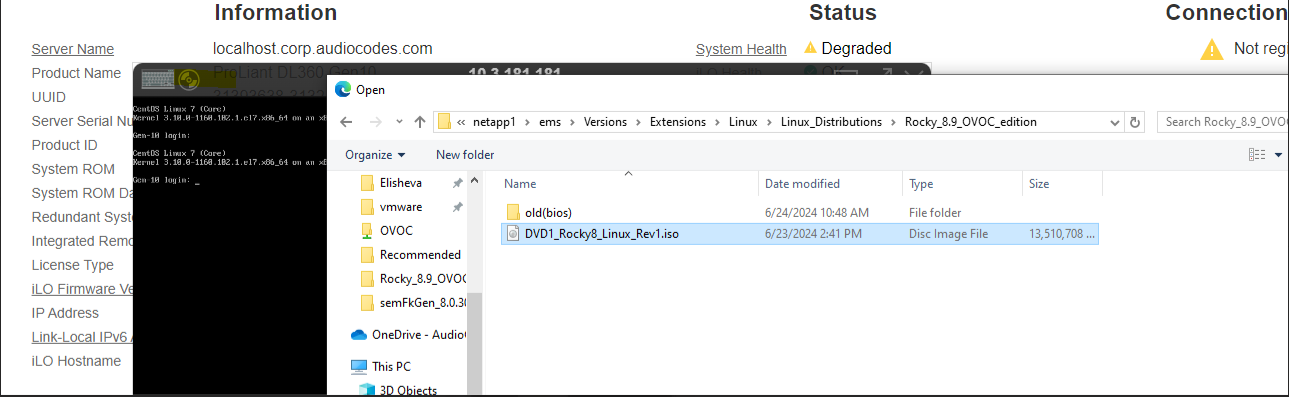
| 1. | Download the DVD1.ISO file to your PC. |
| 2. | Using the WinSCP utility (see Transferring Files) transfer the DVD1.ISO file to the virtual machine installation platform. |
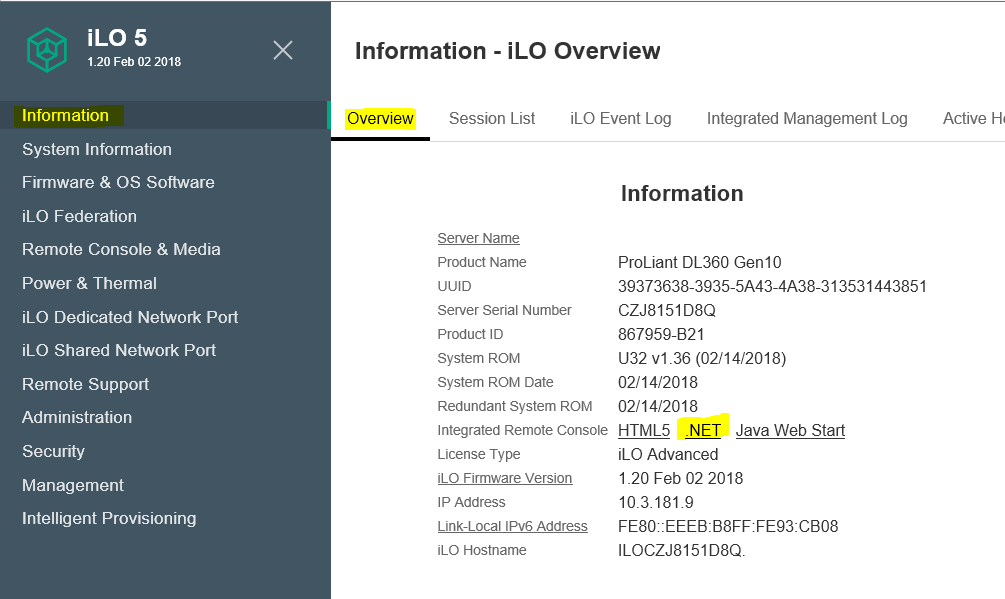
| 3. | Login to ILO 5 with “Administrator” privileges. |
| 4. | Launch the Integrated Remote Console. |
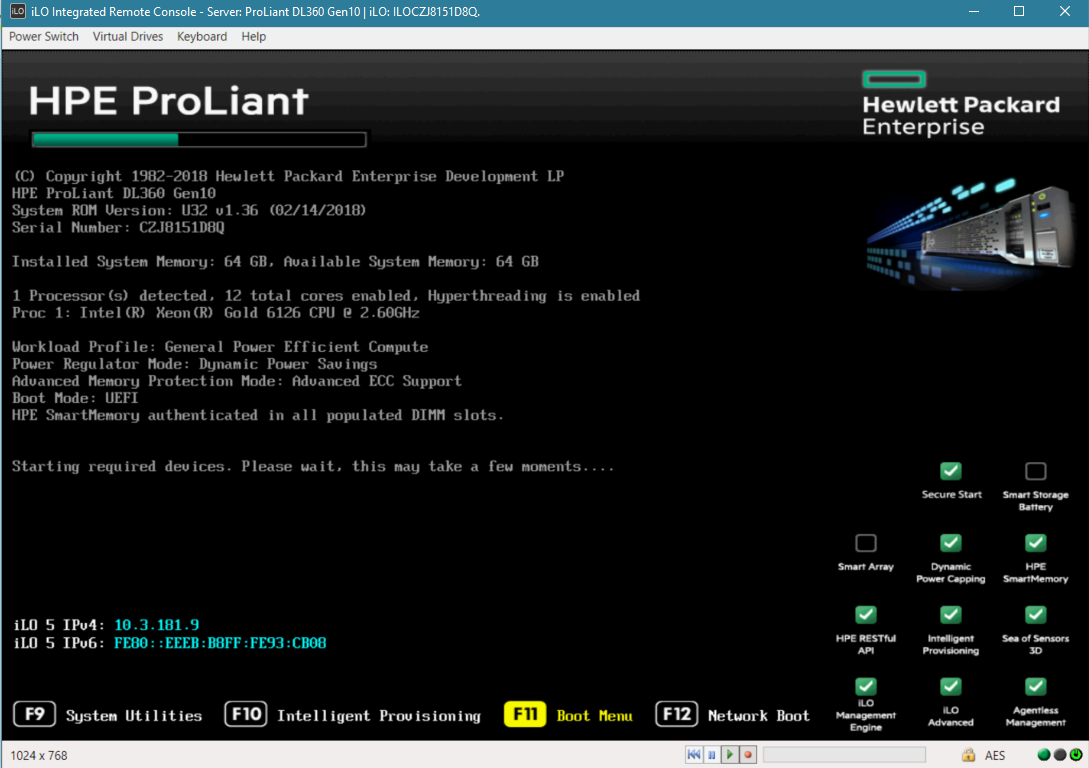
Information-iLO Overview
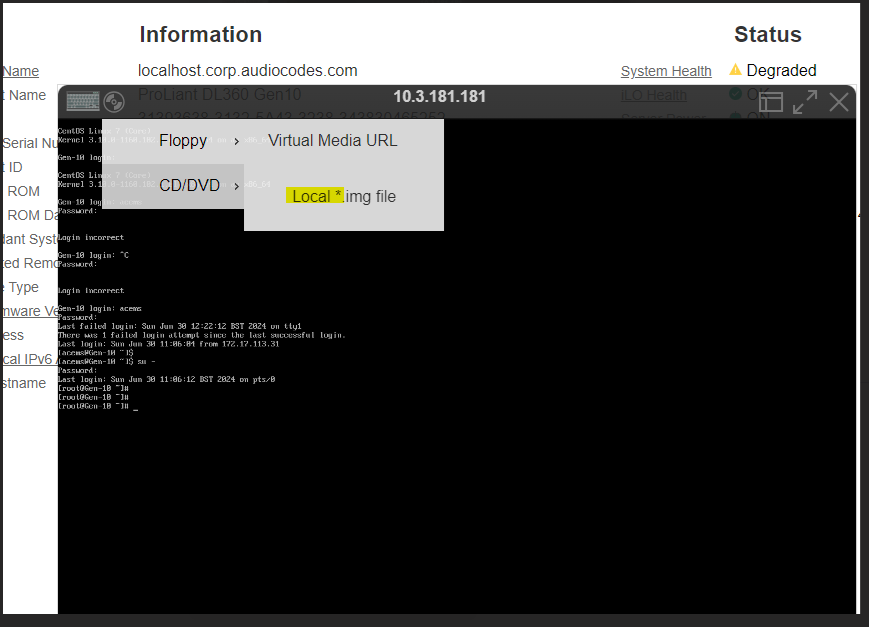
| 5. | From Integrated Remote Console, click Virtual Drives and select the saved location of the ISO file. |
iLO Integrated Remote Console
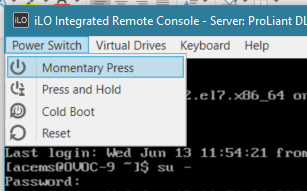
| 6. | From Integrated Remote Console, click Power Switch > Momentary Press, the server is shutdown. Click Momentary Press to power the server back on. |
Momentary Press
After server boot process has commenced, press F11 to enter the boot menu.
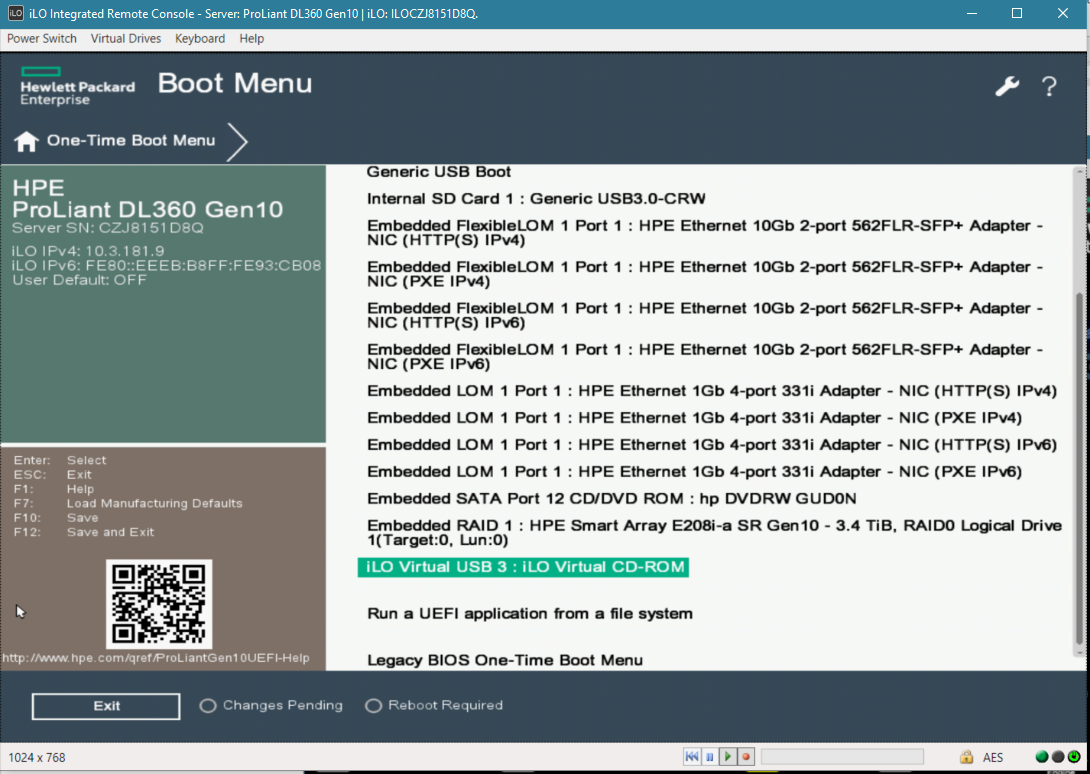
Boot Menu
| 7. | On boot menu, scroll down by mouse or arrows keys and select the “iLO Virtual USB 3 : iLO Virtual CD-ROM” to start the boot sequence. |
Boot Sequence
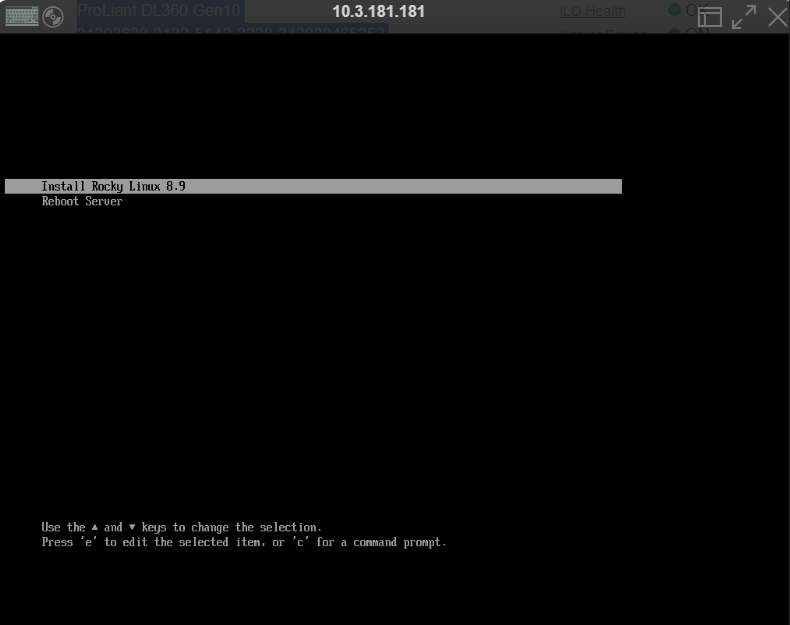
| 8. | The following screen appears, select “Install Rocky Linux version 8.x …” and press Enter. |
Install Rocky Linux version 8.x
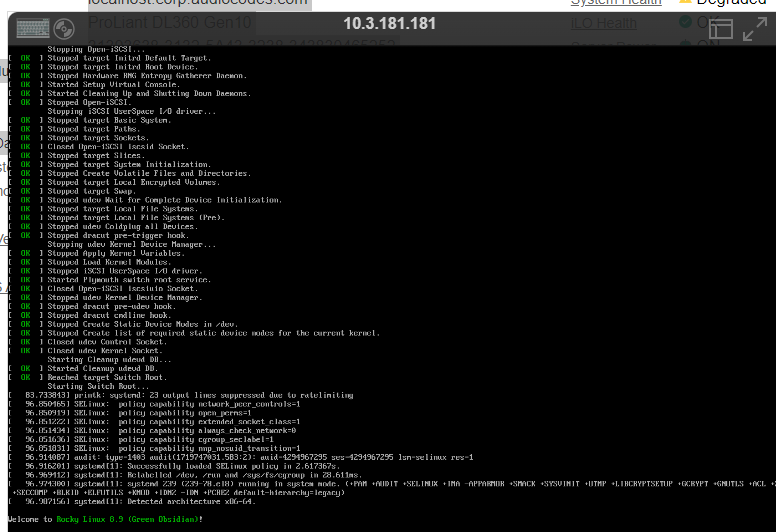
| 9. | After a while the Rocky Linux version 8.x installation commences: |
Start Rocky Linux version 8.x
| 10. | Wait for the installation to finish, from “Virtual Drives” menu deselect the selected drive and press Enter, the server is rebooted. |
| 11. | Login as 'root' user with password root. |
| 12. | Type network-config, and then press Enter; the current configuration is displayed: |
Rocky Linux version 8.x Network Configuration
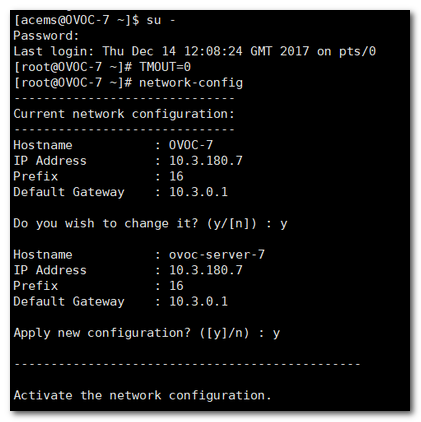
This script can only be used during the server installation process. Any additional Network configuration should later be performed using the OVOC Server Manager.
| 13. | You are prompted to change the configuration; type y. |
| 14. | Enter your Hostname, IP Address, Subnet Mask and Default Gateway. |
| 15. | Confirm the changes; enter y. |
| 16. | Type the following command: |
reboot